Want to learn more about Benefits? Sign up today for our ATSU Learning Webinar: All Access Benefit Management For Memberships and Passes
1. Log In to Administration.
2. Click the House icon and then open the Blue sales folder where you will be building your passes. NOTE: Film Festivals tend to create brand new sales folders for upcoming festivals. See Creating a Sales Organization Folder in Administration for more instructions.
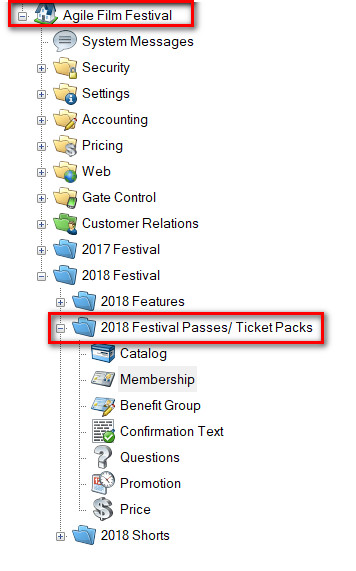
3. Open the Pass folder and click the Membership icon.
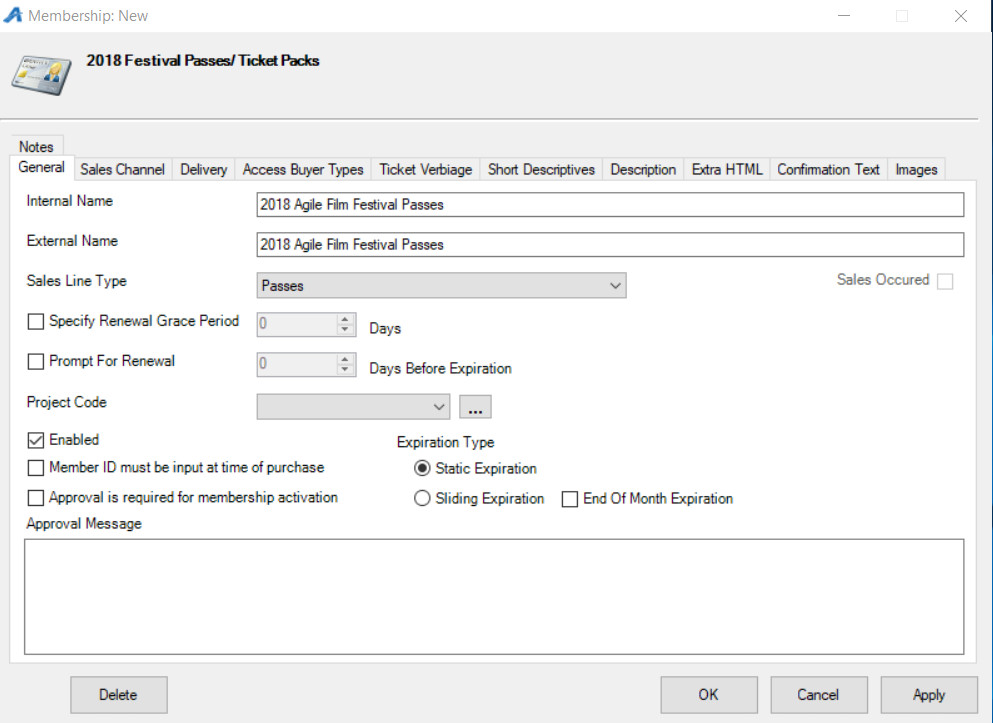
- Static Expiration: All Members will expire on the same day no matter when you purchase them. This is what you will need to choose for Passes
- Sliding Expiration: No matter when a membership is purchased it will expire a specific number of months later. Example: membership purchased in June this year will expire in June next year. Same membership purchased in July this year won't expire until July of next year.
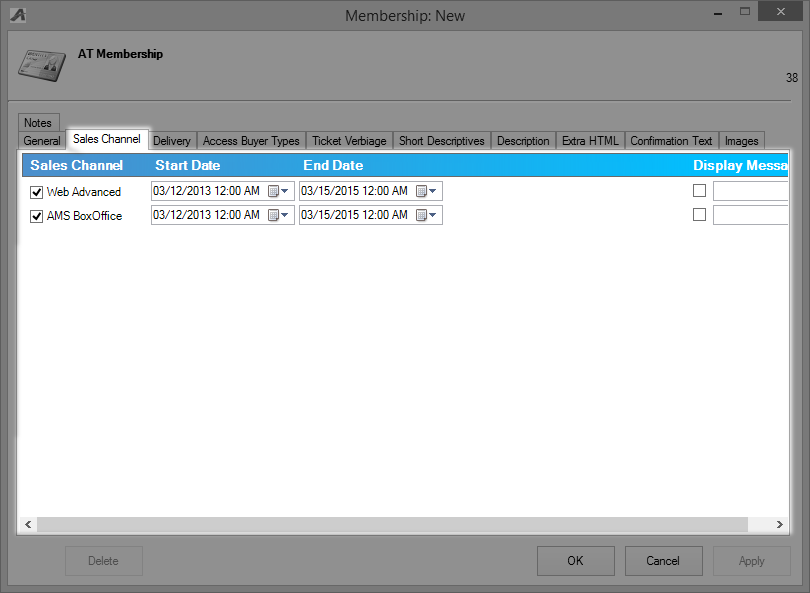
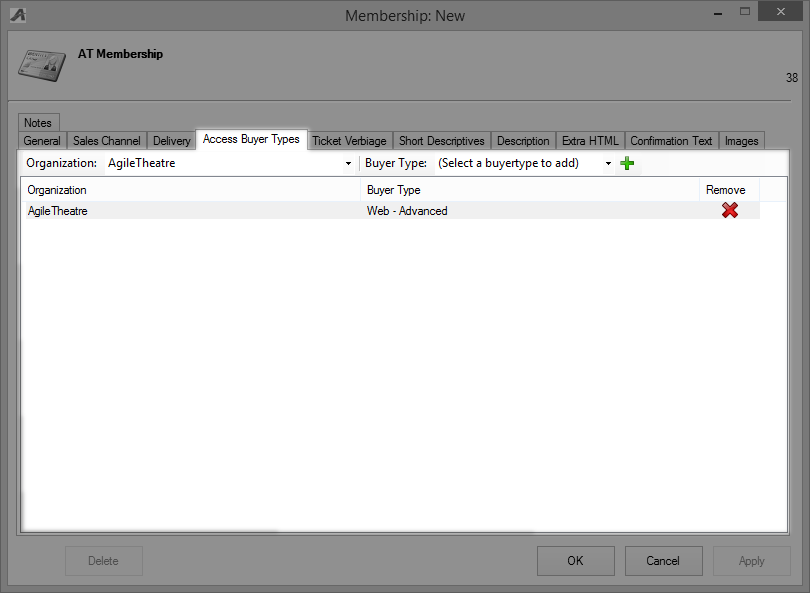
8. Access Buyer Types allows you to choose the different Buyer Types that will be allowed to sell this pass. This is a required function. If you do not let the pass program access a Buyer Type, patrons cannot redeem their benefits properly on that Buyer Type
a. Select your organization from the drop-down.

b. Select the buyer type from the drop-down.
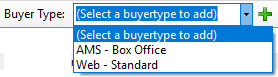
c. Click on the Green plus sign to add the buyer type to the list below.

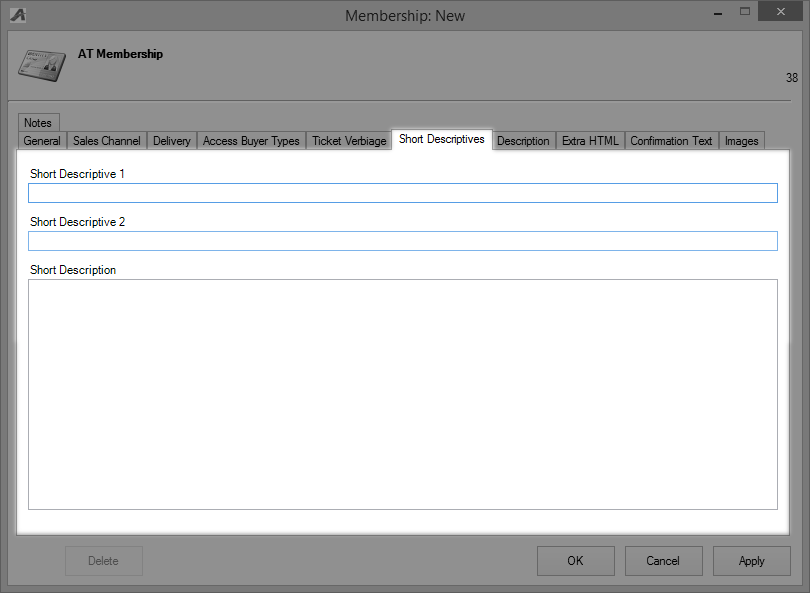
9. Short Descriptive tab is where you will be able to put a short synopsis or description of what benefits are associated with these passes.
10. The Description tab is where you will place a longer description about the pass.

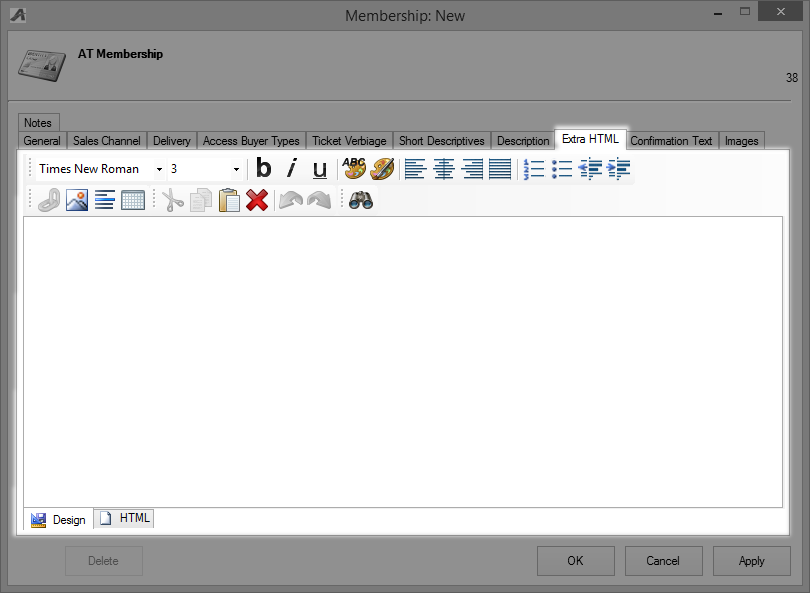
11. Extra HTML tab allows you to add long description information for this pass.
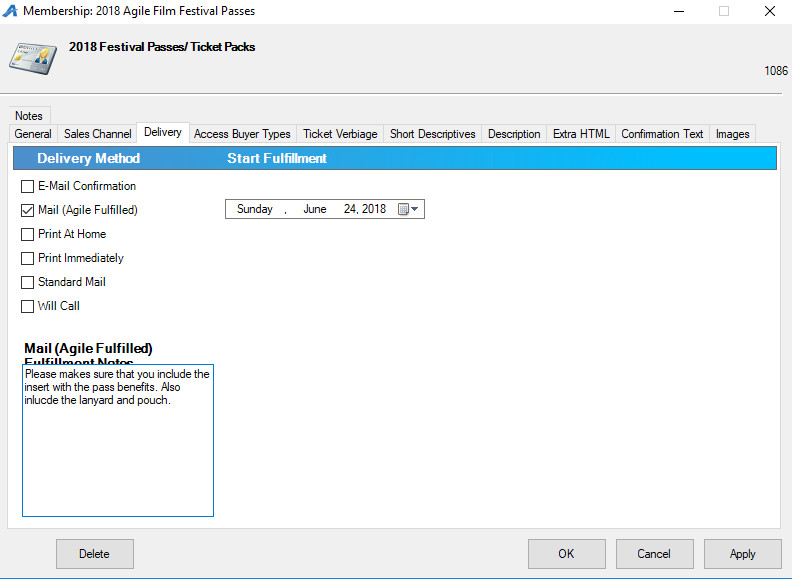
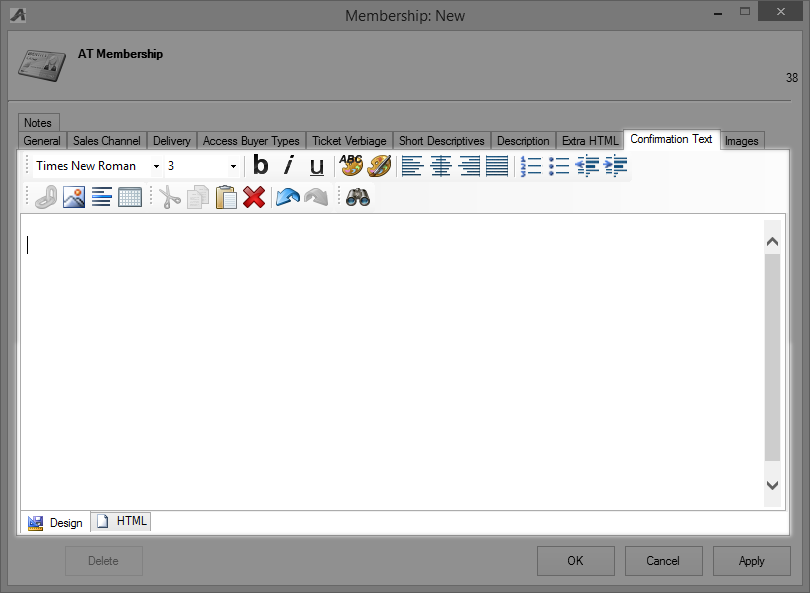
12. The Confirmation is where you can add any information that you would like the customer to know when they complete the order (i.e. Thank you for purchasing this Pass. You should receive your Pass in the mail within 5 to 10 business days from purchase).
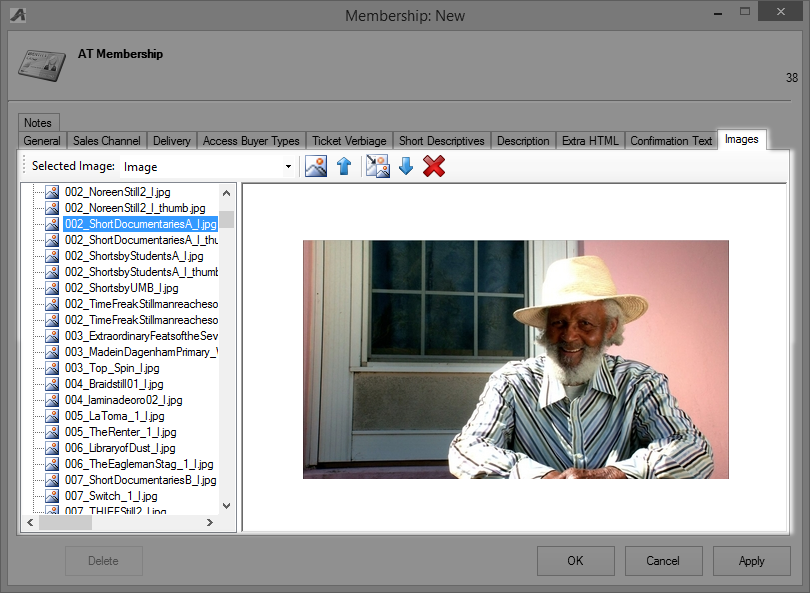
13. Click the Image tab to upload any marketing image for the Pass.
14. Hit Apply and OK.
*Note: The next step is to build your Member Benefits Groups. Do not build the Pass prices until you have created your Member Benefits Groups.
Setting up Member/Pass Benefit Groups
15. In your Pass folder select Benefit Groups.
16. Right-click in the Benefit Group field and select New.
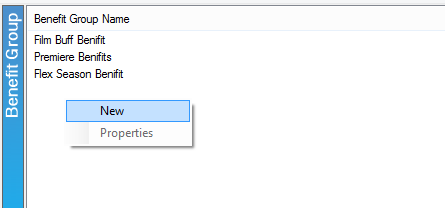
17. Name the Benefit Group (This is usually the same name as the Pass type or level).
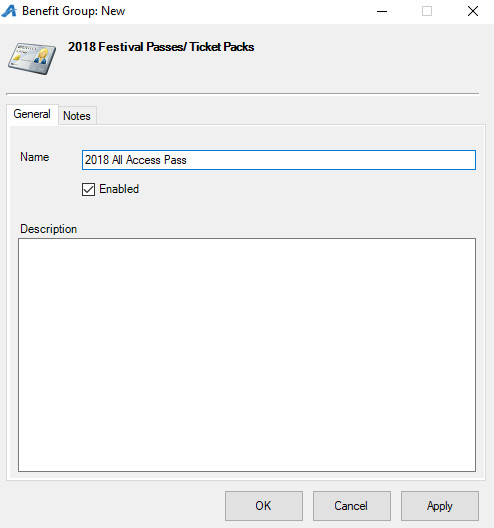
18. Add a description for this Benefit Group that includes a description and list of the benefits that this level receives. This description can show up on certain datasets in our Emails and Letters tool.
19. Hit Apply and OK.
Building Your Pass Prices
20. In the Pass Folder, select the Pass program.
21. Under Membership Prices right-click and select New.
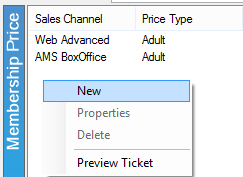
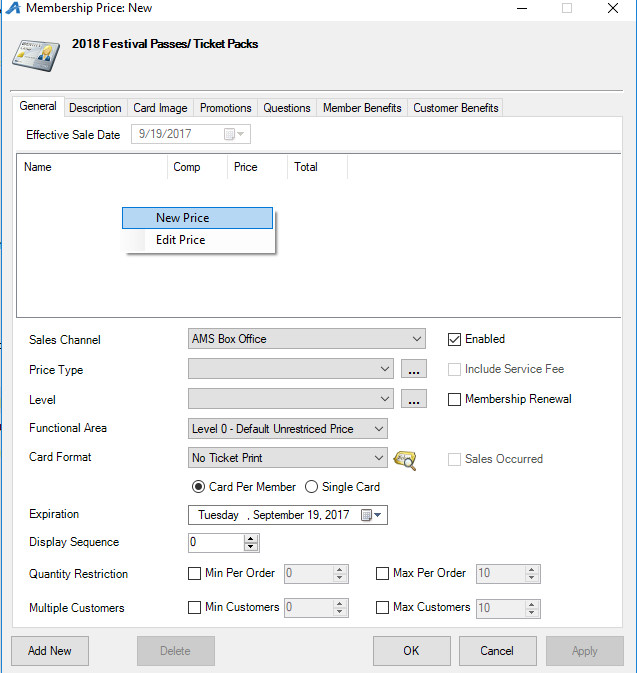
22. Membership Price: New: right-click in the Price box and select New Price.
23. The Price: New window will appear.
A. Choose the applicable Sales Line and Sales Line Type.
B. Enter in the name. This will not be seen by the customer but should be easily identifiable for accounting purposes. We recommend being very detailed in the price name (i.e. ABC Venue Adult, Subscription Adult, Gold Member Price, etc.).
C. The Notes tab is for internal use only and will not be seen by the customer.
24. Click Apply then OK.
25. In the Price Distribution: New window right-click and select New.
- Price Category: Select Price from the drop down.
- Amount: enter in the amount of the item being sold.
- Account: choose the appropriate revenue account here from the drop-down.
- Select Apply then OK.
*Note* If the price also includes a fee, repeat the above steps but choose Fee in the Price Category.
- Effective Sale Date: This defaults to today's date and time for. This tells the system that this price is effective at this date and time.
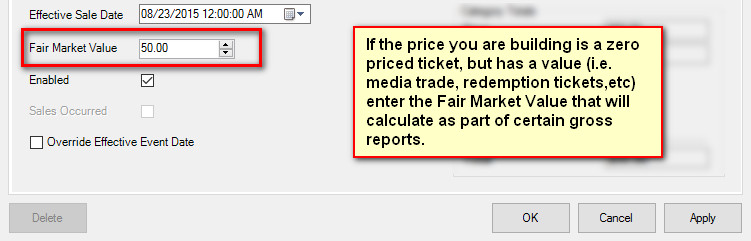
- Fair Market Value: enter in the value of the item being sold.
26. Click Apply then OK once all the pricing information has been created.
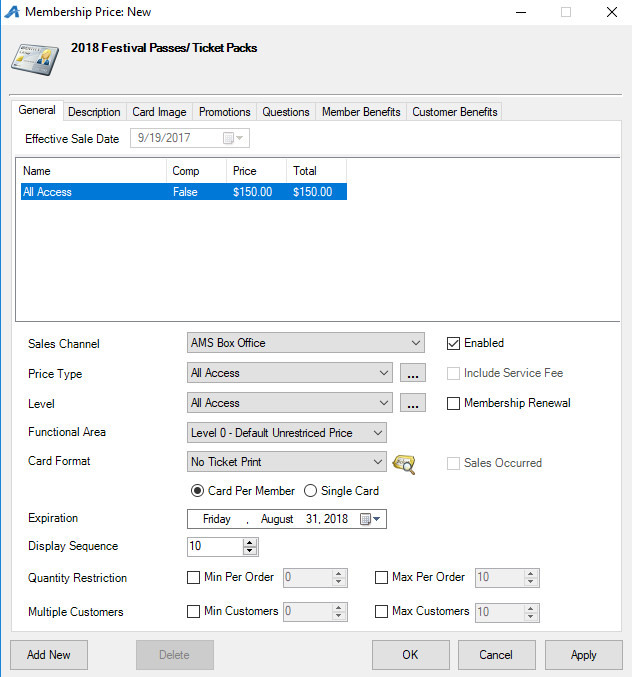
A) Select the Sales Channel where this price will be available for purchase.
B) Set the Price Type.
C) Set the Level.
D) Select the Functional Area.
E) Select the Card Format.
F) Choose Card Per Member if the pass type allows for multiple cards to be printed OR Single Card if only one pass will be printed.
G) Set your Expiration Date: This determines how long the pass is good for. For Static Expiration Passes you will choose the exact date that the pass is due to expire (i.e Festival Passes expire on Jan 1, 2020). For film festivals, we recommend setting this date a day or two after the film festival ends.
H) Set your Display Sequence: The display sequence determines in what order your passes will be displayed in a list.
I) Select your Quantity Restriction: Min and Max: This limits how many passes may be bought at a time.
J) Select your Multiple Customers: Min and Max: This limits how many customer names are on passes (i.e. for dual passes, set the min and the max to 2).
K) Make sure your Price is Enabled.
L) If you would like to include a Service Fee make sure the Include Service Fee box is checked.
M) If you renew your passes and this price is a renewal price, make sure to check the box next to Membership Renewal. Most festivals do not renew their passes, so you can likely skip this step.
N) Allow 12-Month Pledge: Checking this box allows customers to pay for the membership in monthly installments. This option is for Donor Perfect clients only and must have a Safe Save merchant account.
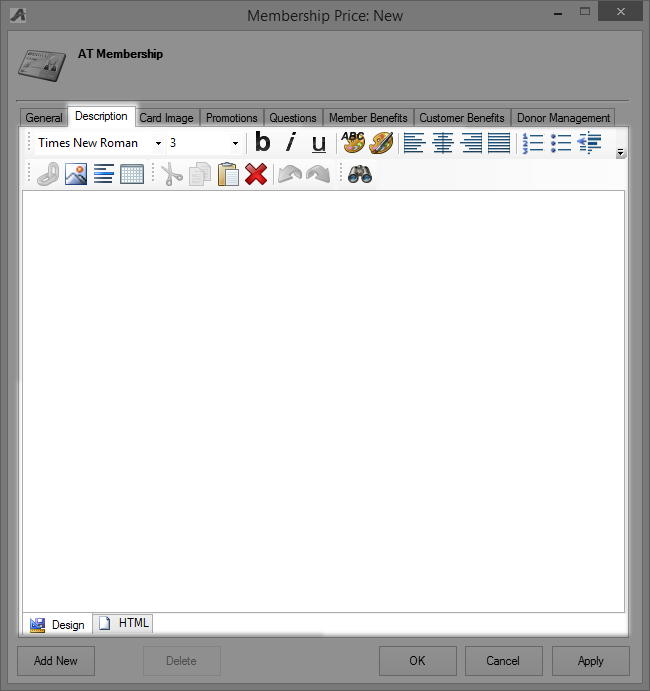
27. The Description tab allows you to add a description beneath this Pass Price online.
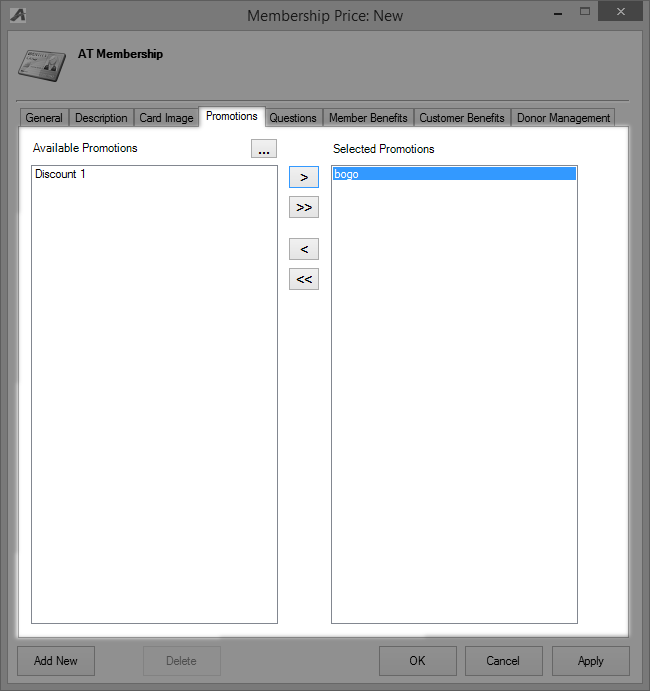
28. Under the Promotion tab add promo codes if this Price needs a promotion code to access the price. See Promotional Codes: Creating and Attaching Codes to Prices for more information.
29. The Questions tab allows you to add order questions you want a customer to answer before checkout. See Creating Order Questions for more information. Move the question from the Available Questions column to the Selected Questions column to activate the questions for this price.

30. The Membership Benefits tab is where you will attach the benefits for this Pass level. THIS IS A REQUIRED STEP. If you do not add the Member Benefits to the price, pass holders will not be able to access their benefits online or at the box office. Follow the steps below:
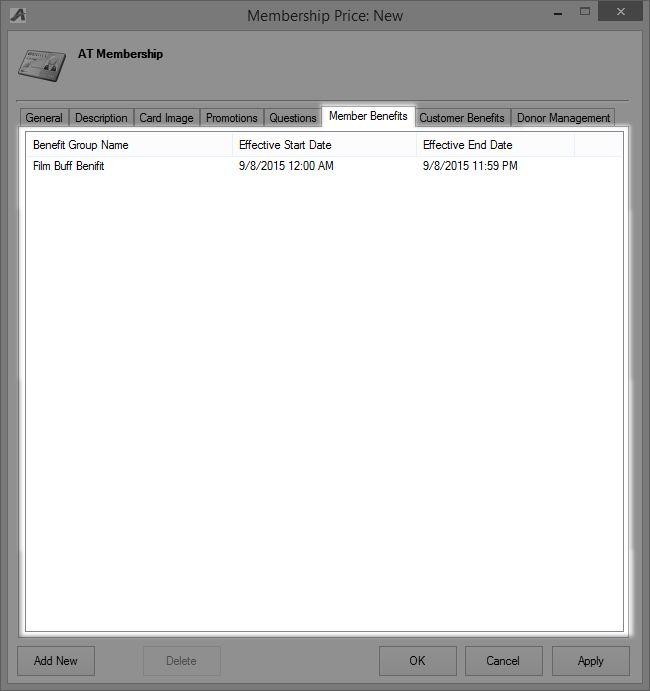
A. Right-click in the window and select New.
B. Select the correct benefit from the Benefit Group drop-down.
C. For a Static Expiration Membership, choose the Effective Start Date and the Effective End Date for the exact dates you want the benefits to be valid for.
31. Customer Benefits Tab - Skip this step as this area is for a Ticket Pack setup, not a Pass setup. See How to Create a Ticket Pack
32. The Donor Management Tab: This is only available for Donor Perfect clients. Select the appropriate items from the drop-downs. See these articles for more details on this tab: Gift Properties and Other Item Properties.
33. Hit Apply and then OK. To add multiple sales channels, click Add New and change the sales channel on the General Tab.
Building Benefits
34. Select the Benefit Group icon. Select the first Benefit Group you created.
35. In the Benefit field, right-click and select New.

36. Select the type of benefit.
A) Event/Showing Benefit: Allows access to a particular Event ticket type under an Event or Showing.
B) Catalog Benefit: Allows access to a particular Product or SKU Price under a Catalog item, such as Merchandise or Concessions.
C) Membership Benefit: Allows access to a Membership Price type (i.e. if a festival pass grants access to another kind of pass program in Agile, use this option. If a year-round membership gets access to a discounted pass price, it's more common to build this type of benefit under the year-round membership program instead and update it year-to-year as old festival folders are retired).
D) Package Benefit: Allows access to a Package price type.
E) Show Benefit: Allows access to a particular Event ticket type under a Show (for example, if there are multiple performances of the same Show and the member should have access to all of these, use this benefit. If the member should only have access to a specific showing, use the Event/Showing Benefit.
37. Once you have selected the benefit type, fill out this information:

A. Benefit Name: Name the Benefit. (i.e. Member Discount)
B. Organization: Select your Organization
C. Sales Line Type: This points to the Sales Line Type on the showing/membership/etc. that the benefit is redeemed for.
D. Sales Folder: Select the festival sales folder that this benefit will be associated with.
E. Specific Event/Showing: If this benefit is for a single event, click on the magnifying glass and choose that event. If not, leave the default of (Nothing Selected).
F. Specify Tier: If you have a specific tier that the redemption ticket his under, choose the correct tier from the drop down.
G. Specify Ticket Type: Select the redemption Ticket Type for this benefit.
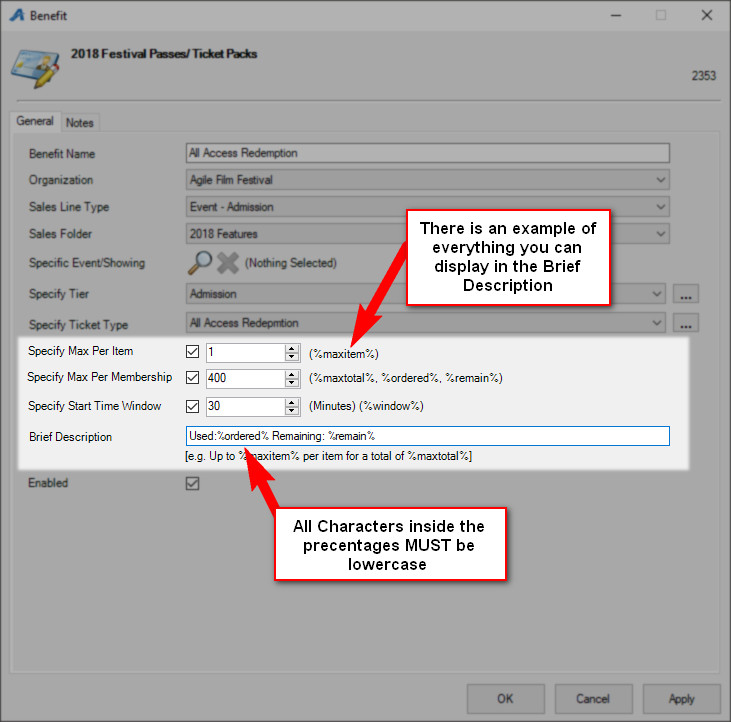
H. Specify Max Per Item: Set the benefit per item. This allows the pass holder to receive the number of tickets assigned for each event.
E. Specify Max Per Membership: This restricts the total number of tickets allowed for the entire duration of the pass (i.e. I can only get 40 total tickets for my pass).
F. Specify Start Time Window (min): Enter in the amount of time that must occur between showings. This prevents customers from using their benefits on two shows at the same time.
G. In the Brief Description, you can define the benefit the customer has and enable them to see how many benefits they have left in their pass. This description will appear on the customer's My Benefits page in their online account.
Please note in order for this field to work properly you have to have a specified Max Per Item, Max per Membership, or Start Time Window.
38. Hit Apply and OK.
Comments