Show Import allows an organization to import a large list of events from an Excel spreadsheet. This is especially useful for Film Festivals or other organizations that need to add hundreds of events to the system.
Shows can now be imported at the top level in Agile. This allows organizations with multiple venues to build show (film) meta-data only once and make it available in all blue sales folders.
1. Log in to Administration in Agile.
2. Click the House icon.  Open the blue folder that houses your Shows or click the Show icon at the top of the page.

3. Once in the folder, select Show.
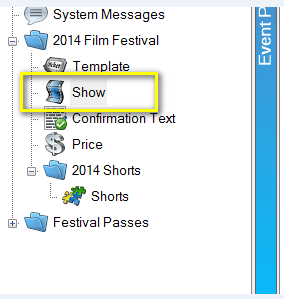
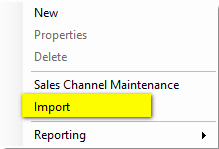
4. In the Show area at the top of your screen, right-click and select Import.
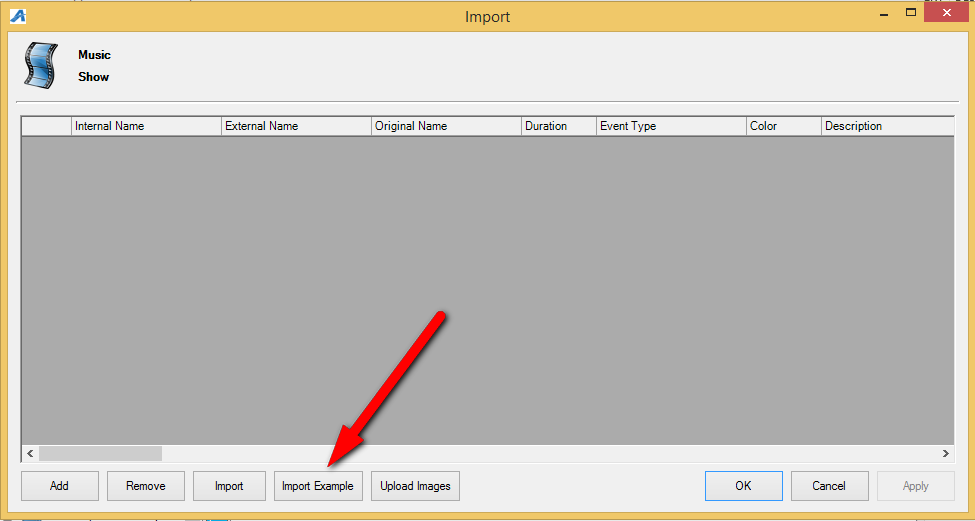
5. On the Import page, select Import Example. This will open an Import Spreadsheet.
6. Rename and save the spreadsheet. Enter your Show information in the spreadsheet. Below are descriptions of each column on the spreadsheet. Some of the columns are required while others are optional.
A. Internal Name – This is the name of the show/film that will appear in the Agile Sales application. This is a required field.
B. External Name – This is the name of the show/film that will appear on the web. This should be the proper title of the film or event. This is required.
C. Original Name – If the show/film has a foreign title, this is where you will list the original title in its native language. This is optional.
D. Duration – This is the run time of the film in minutes. This is required.
E. Event Type – These are the different type of events (i.e. Feature, Opening Night Film, Short, Shorts Program, etc.). This is required.
F. Color – This will allow you to assign a color that will appear on the grid view online (i.e. Documentary films are all Red, while Shorts Programs are Blue, etc.). This is optional.
G. Description – This is where you will put a full-length synopsis of the film. This is optional for the import, but we highly recommend adding the information in the spread sheet and import all at once.
H. Short Description – This is a short synopsis of the film. This is optional, but we highly recommend adding this information in the spreadsheet to import. (Image 6)
I. Short Descriptive 1 – Gives you an additional space to show the film type, the rating and the run time. This is optional.
J. Short Descriptive 2 – Can have additional information listed here (i.e. Doors Open at 6PM, etc.) This is optional.

K. Web Availability – This is an area for adding additional information that you would want the customer to know when your inventory for that event/movie has reached zero (i.e. Rush Line Only, Sold Out, etc.). This is optional.
L. Show Info – This can be used to add additional information about the show (i.e. Sponsored by XYZ Company, etc.) This is optional.
M. Extra HTML – This is a place to put additional information for this event. It can have customer scripting and other HTML Text. This is optional.
N. Confirmation – Can add specific confirmation text for this event. This is optional.

O. Ticket Verbiage 1 – Can place specific information that will appear on the ticket when printed. This is optional as most ticket formats now pull information from different elements in the database.
P. Ticket Verbiage 2 – Can place specific information that will appear on the ticket when printed. This is optional as most ticket formats now pull information from different elements in the database.
Q. Ticket Verbiage 3 – Can place specific information that will appear on the ticket when printed. This is optional as most ticket formats now pull information from different elements in the database.
R. Ticket Verbiage 4 – Can place specific information that will appear on the ticket when printed. This is optional as most ticket formats now pull information from different elements in the database.
S. Ticket Verbiage 5 – Can place specific information that will appear on the ticket when printed. This is optional as most ticket formats now pull information from different elements in the database.
T. Project Code – If you have specific codes associated with the film, you can place it here. This is optional.
U. Distributor – You can place the Distributor’s name for this film. This is optional. Generally used by Art House or 1st Run Cinemas.
V. Distributor Reporting – Set to TRUE to automatically report revenue for this Show to comScore Swift and to Nightly Flash. This is optional.
W. External Event ID – External Event ID self-populates once you have imported the sheet. Leave this column blank. 50 Character Limit.

X. Image – Show/film images can be imported at the same time as you import the spread sheet. Your images will look best if they are all the same size and have been named for ease of association. If you have multiple images for the film, the first image listed in the cell will be the main image for the film page and will also create the thumbnail using the main image. For multiple images, make sure to separate the image names with a comma.
**NOTE: We recommend that all your images are sized to 1280 pixels wide x 500 pixels high at 72 dpi.
Y. Thumbnail Image – You may leave the Thumbnail Column blank. When you import your spreadsheet, Agile will automatically create a thumbnail image using the 1st image from Image column.
Z. Ticket Image – This can be used on your print-at-home tickets if you need to have a sponsor logo on certain film tickets. This is optional.
AA. Extra Image/Media – This is where you will put the link for your trailers via a YouTube or Vimeo link.

**Note: Columns AB-AI are Streaming Properties that govern access to content set up with our streaming integration. If your films will not have any streaming content, leave these columns blank. To learn more about streaming properties, click here How to Set Up a Virtual Show and scroll down to "Setting Your Show's Streaming Properties."
Columns AJ – AZ are called Custom Properties. – These custom fields are designated by each organization to allow them to enter additional information about the film (i.e. Cast and Crew Information, Run Time, Country of Origin, etc.) If you do not add information into these cells, the information will not populate online. For more information on how to create Custom Properties, click here.
When your spreadsheet is complete, you are ready to import your shows into Agile.
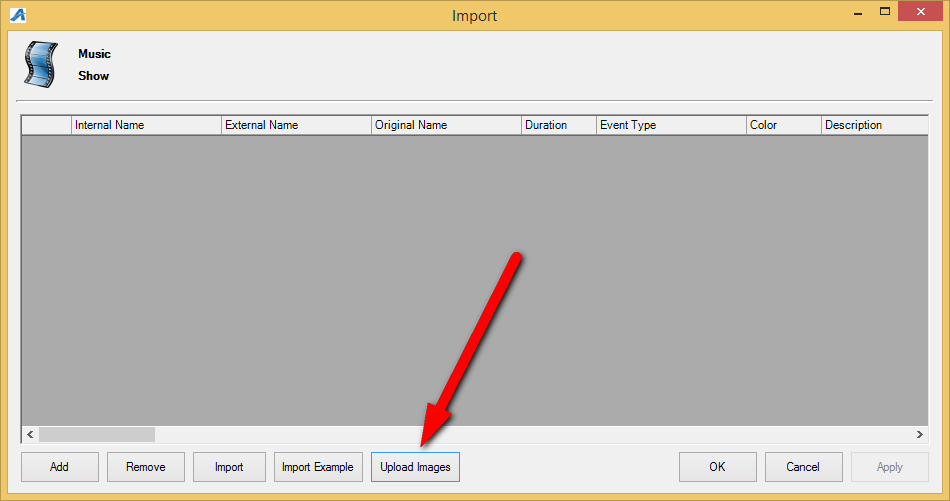
7. Repeat Steps 2 - 4 to get to the Import screen in your sales folder. Click Upload Images first to import your images folder.
**Note: Make sure that all your images are the same size and that the names of the images are listed the same way as on the spreadsheet.
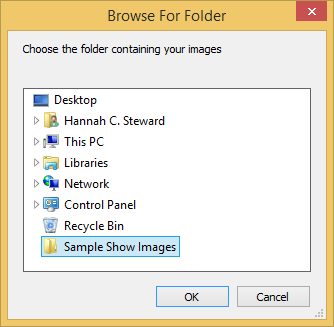
8. Select the image folder from your desktop.
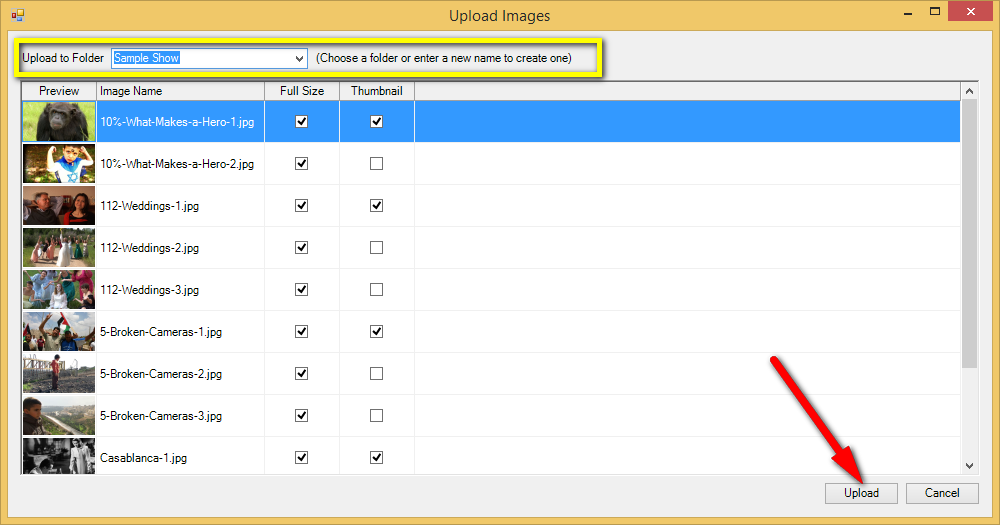
9. When the images appear, name the folder for the image library (i.e. 2014 Feature Images) using the text field at the top of the screen. Then, click the Upload button at the bottom of the screen.
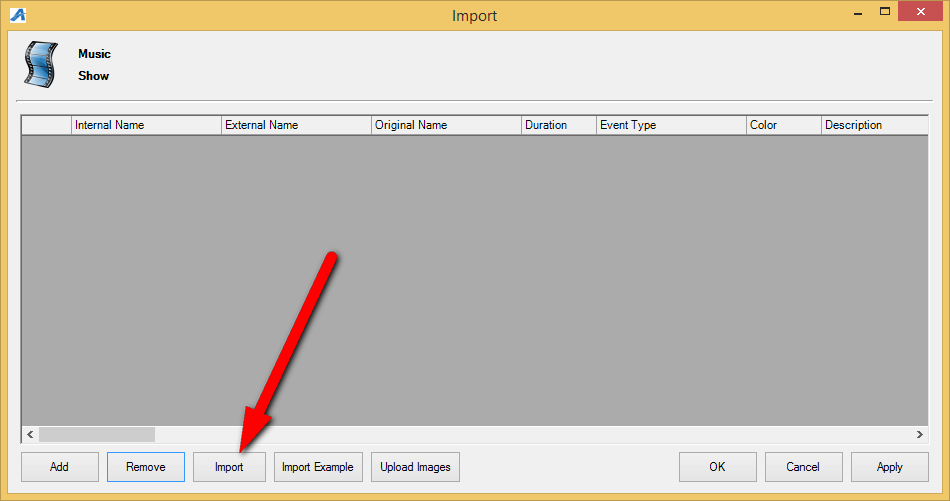
10. Once the images have been uploaded into the Image Library, you will be taken back to the Import screen. Click the Import button to select the import spreadsheet.
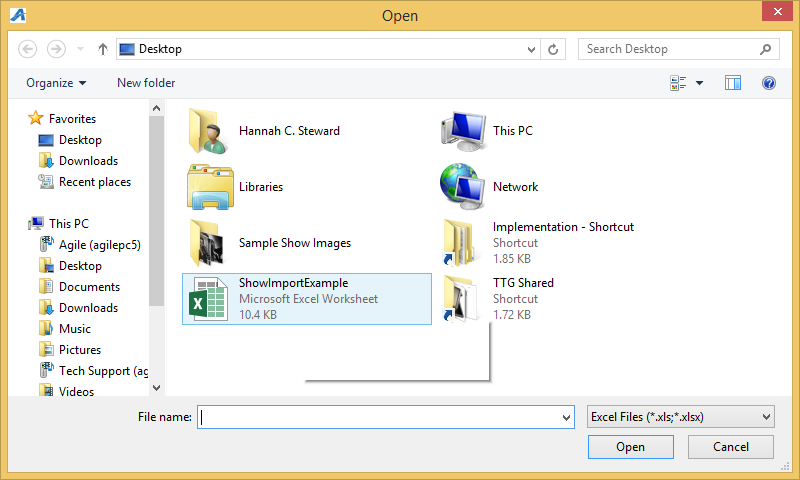
11. Select your Import Spreadsheet from your computer.
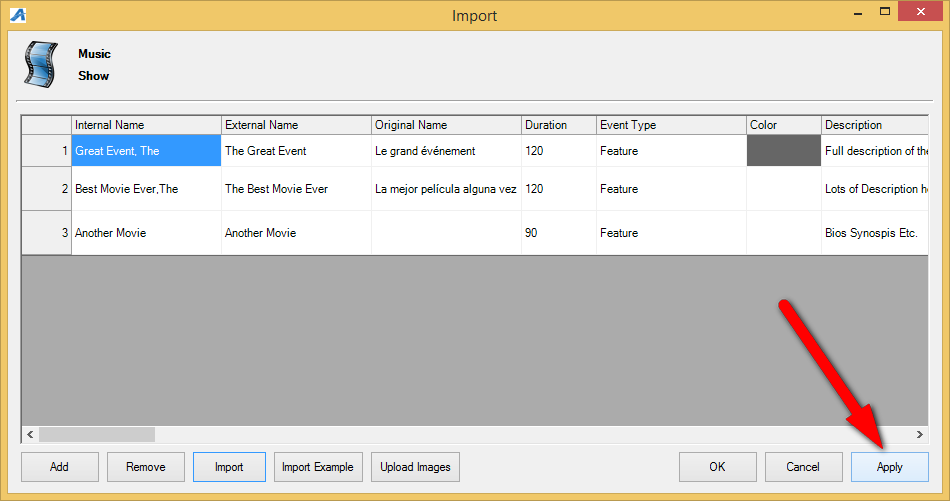
12. Once all the shows from your spreadsheet appear in the screen, click Apply. If there are errors in the spreadsheet, the system will notify you to let you know what column or cell needs to be fixed.
Adding Showing Dates and Times to a screening using Templates
Now, you are ready to associate the showing dates and times with the show.
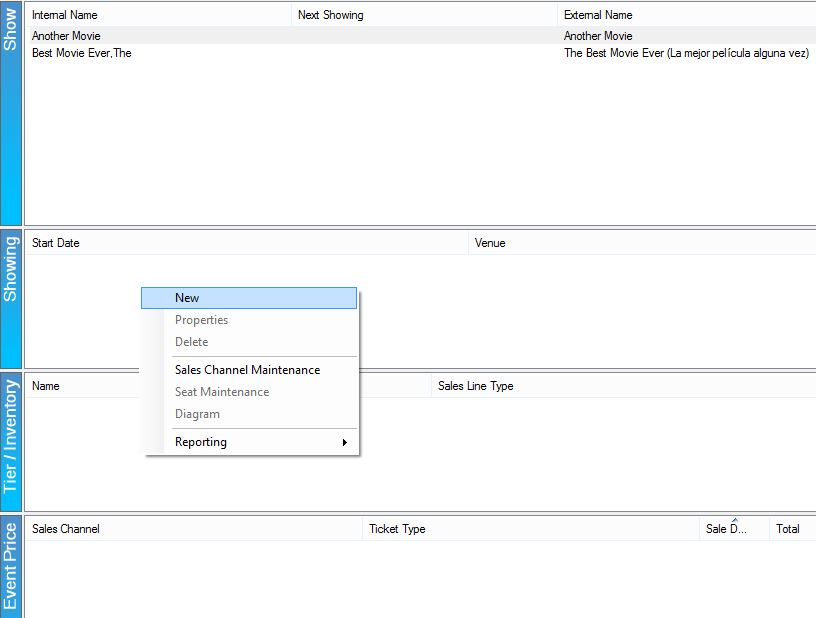
13. In the Show area, select the film to which you need to add a venue, dates, and times.

14. Right-click in the Showing area and select New.
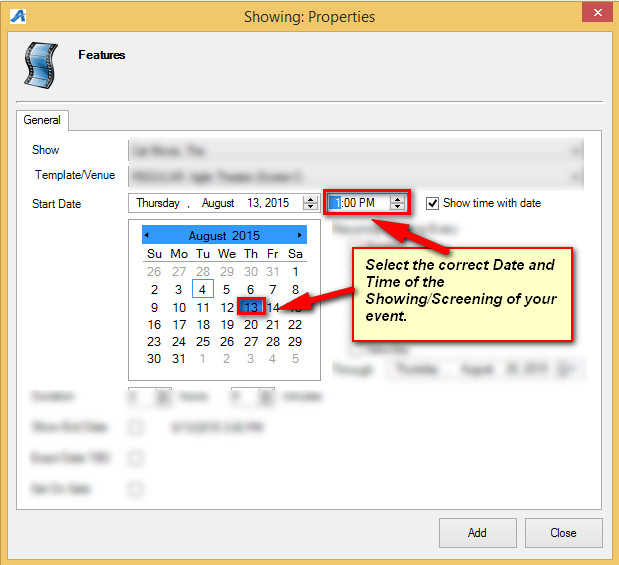
15. In the Showing: Properties screen, you will see the name of the Show and the Template/Venue list. Choose the appropriate Template/Venue from the drop-down.
17. Choose the Start Date and Time of the showing.
18. If this show is a Recurring Showing, checkmark the days for which this Showing and Template will be used in future dates. Make sure to select the Through date for the final day this Template and Time will recur.
19. If you are ready to place this on sale right away, check the Set On Sale box. If you need to set a specific On Sale Date and time, see How to Place a Show On Sale.
20. Click Add to add your showing(s). Click Close once complete.
Comments
This Article was updated on August 5, 2015