1. Log in to Administration.
2. Click the Settings folder.
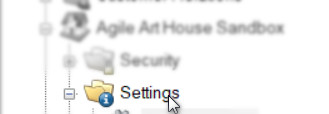
3. Click on System Control.
4. On the General Tab, scroll down to Additional Settings.
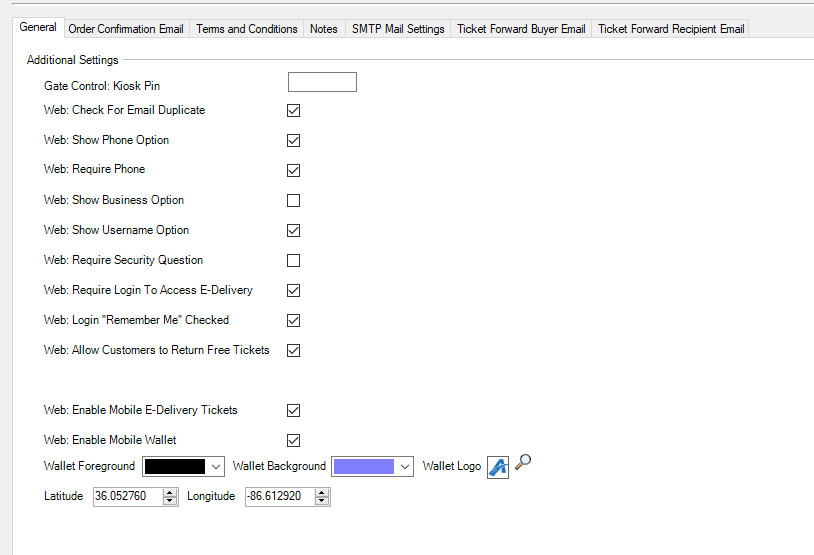
5. Check the box next to Enable Mobile E-Delivery Tickets and Enable Mobile Wallet.
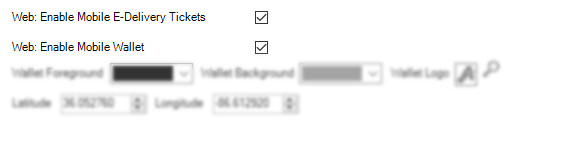
6. Choose the colors for the Wallet Foreground and the Wallet Background.

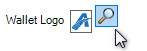
7. Click on the Magnifying Glass to upload your logo image that will appear on the mobile tickets and memberships. *The image specs should be 660 pixels wide by 660 pixels high.
LOGO GUIDELINES
- Preferred file type: PNG.
- Minimum size is 660px by 660px.
- Actual pixel size will scale to the device size.
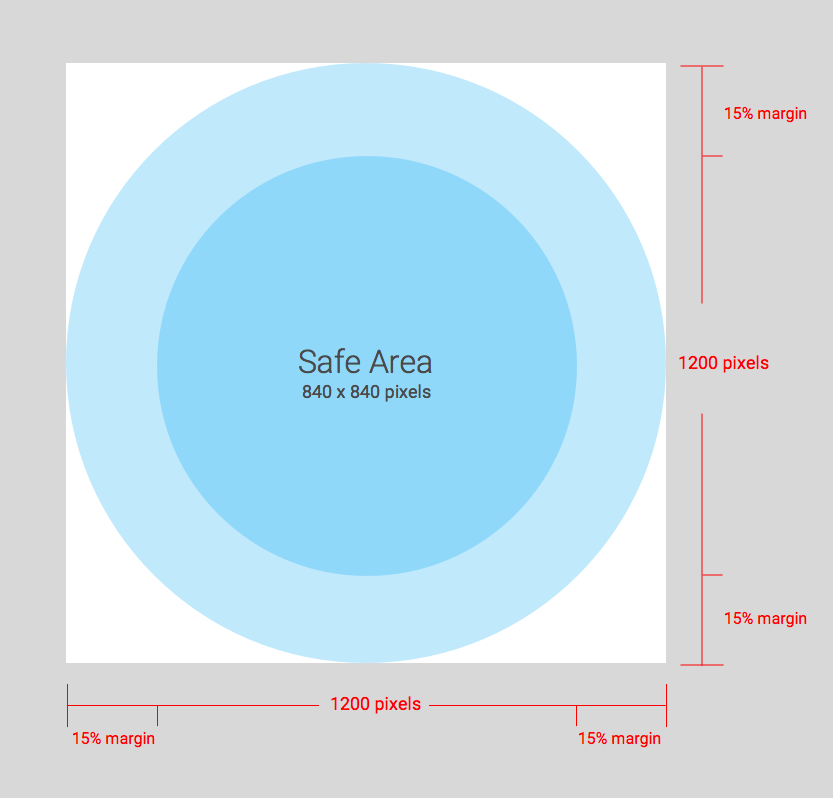
Your logo will be masked to fit within a circular design. Ensure that your logo fits within the Safe Area. Do not pre-mask your logo. Leave the logo in a square with a full bleed background color. The logo should have a 15% margin so that it is not cut off when masked.
8. If you would like to enable the Geolocation services of the mobile wallet app simply enter the Latitude and Longitude of your event's location. By setting this information, the customer's tickets or memberships will appear in their notifications when they are within a 100 meters/328 feet radius of the venue.

9. Once you have completed the System Control settings, click Apply at the bottom right of the screen.

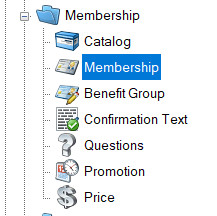
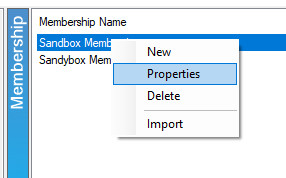
10. In order to enable the mobile wallet on your membership program(s), open the membership folder and then right-click and select Properties on the membership program.
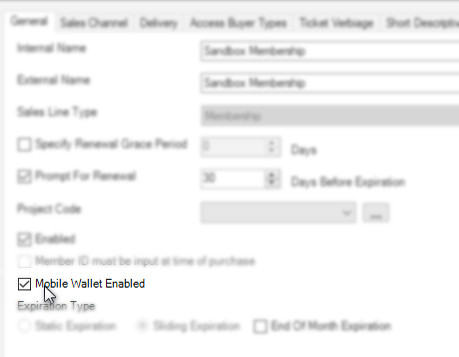
11. Check the box next to Mobile Wallet Enabled.
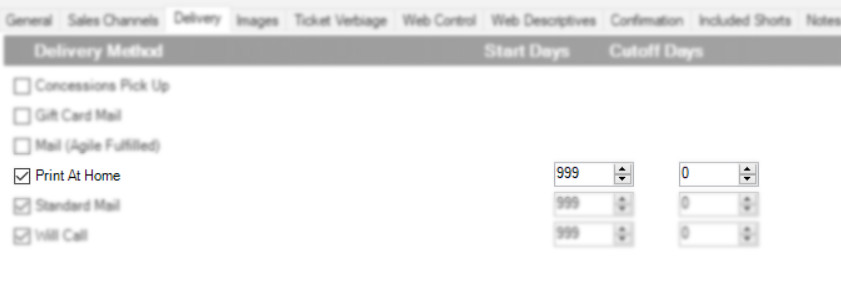
12. In order to enable your tickets to be seen in mobile wallet, you will need to make sure that you have an E-Delivery Mobile ticket format set, and the Print at Home or E-Delivery delivery method selected for all of your showings. Contact support@agiletix.com if you need help with the ticket formats.

Comments