Instructions for Changing the Wi-Fi Setup of the Posiflex POS
In order to use the POS, you must first set up the Wi-Fi on the tablet. Follow these instructions.
1. At the bottom left of the tablet, you will see the Wi-Fi Network Icon. Click on that icon and find your Wi-Fi Network name.

2. When the tablet has been connected to the Wi-Fi make note of the SSID (the name of your network) and Network Key (password) used.
3. Make sure that your tablet is connected securely to the Base of the station (this is where the printer is housed).
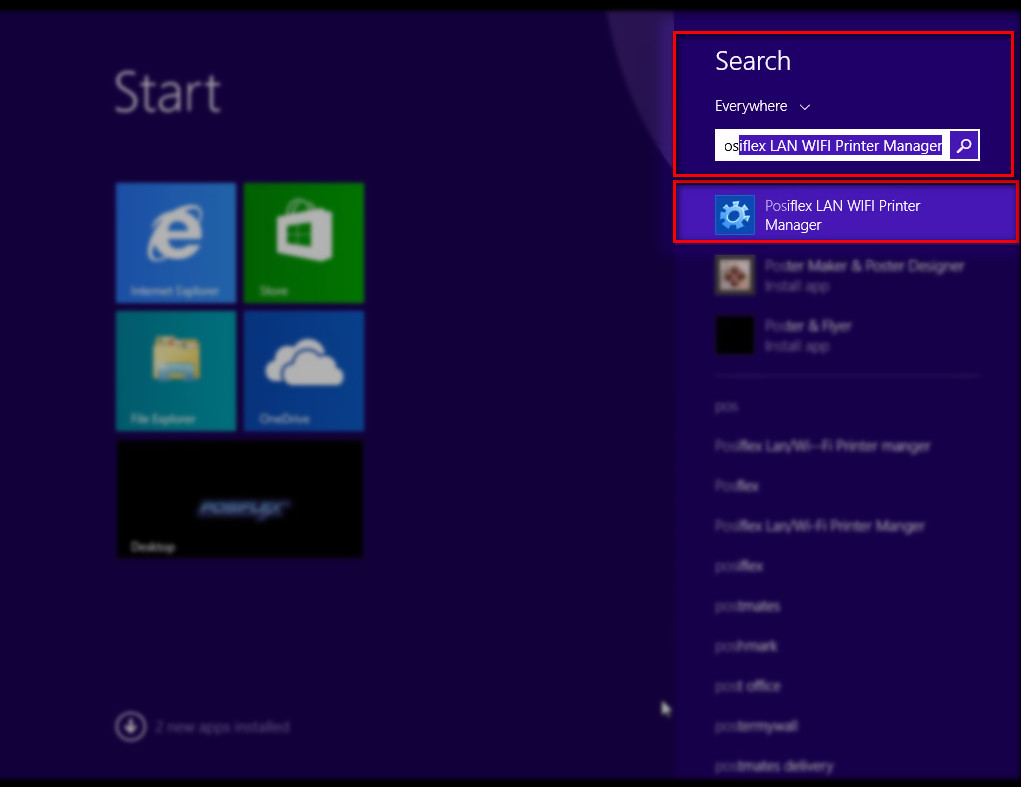
4. Click on the Windows Start button and search for the Posiflex LAN WIFI Printer Manager.

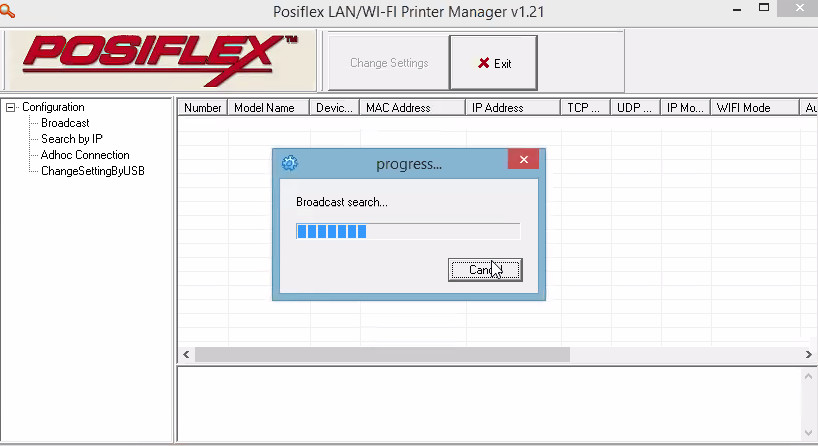
5. The applet will open and search for the broadcasting printer. NOTE: Since this is the first time setting it up, you will find that it does not find the printer initially.
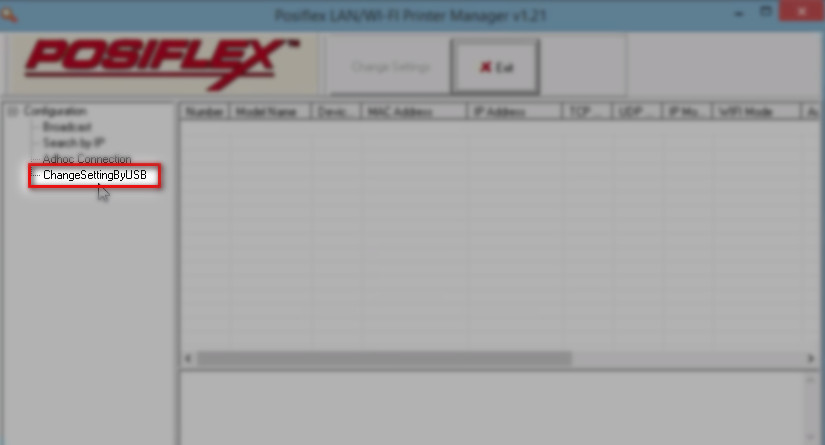
6. Click on the Sub-Heading “ChangeSettingbyUSB”
7. This will open up the Posiflex LAN/WI_FI Printer Manager settings screen.
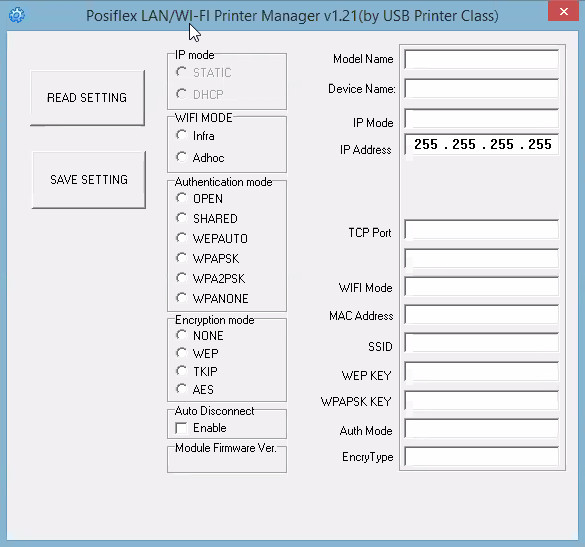
9. Click on Infra radio button on the WiFi Mode field. 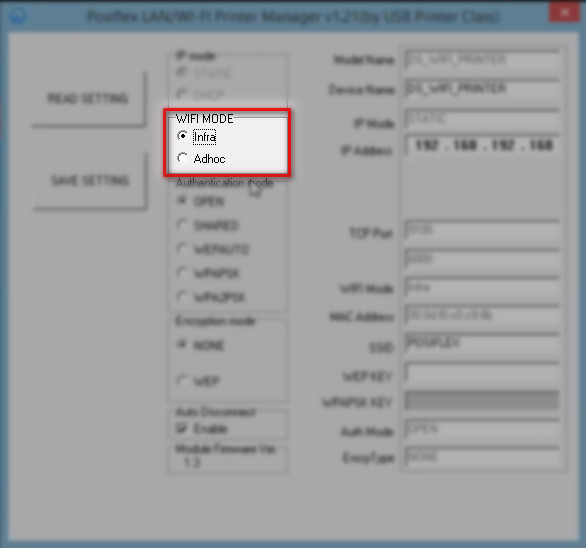
10. When setting up the Static IP you must first make a Reservation on the router for the Printer to find. This Router must also be the Router that the Tablet is connected to, otherwise, it will not be able to print. To set up a Static IP Reservation you should:
- You must have administrative permissions to access your routers or be able to log into your server to set up the Reservation. If you do not have administrative permissions, contact your IT Manager to let them know that you have a piece of equipment that needs a Reservation and you need to know what the IP will be.
- On the Router, you will need to find out what the Host Address is for the Router and type that into your browser.
- This should open a landing page asking for a Username and Password.
- Once logged in you will need to go to the settings area and put in the Reservation IP that you want to use for the Base of the Device and Save the settings.
- Open the Remote Desktop client or go directly to the Server Rack and log in. Make sure you are logging into the Domain Controller Server to access the DHCP Forest.
- Once logged in, open the Admin Tool window and then open the DHCP link.
- In the DHCP Forest, expand the folders to follow the path: "Forest"\IPv4\Scope.
- This is where you will make the Reservation. You will need to first check the Address Pool to see what Ranges are available for devices connected to the Network.
- After establishing what Range is available, check the Leases and assign an unused IP Address to the Base and save the settings.
- Once this is completed and the base is connected, you can right click on the Lease Pool and choose to Add to Reservation.
11. Next there is a selection for Authentication Mode. This will let you select the specific type of Authentication used for the network you will be connecting to. To find this information, open the Network Sharing center, and click on the WiFi Connection link and then select Wireless Properties. Click on the Security tab. The Security type is the Authentication Mode you want to set.
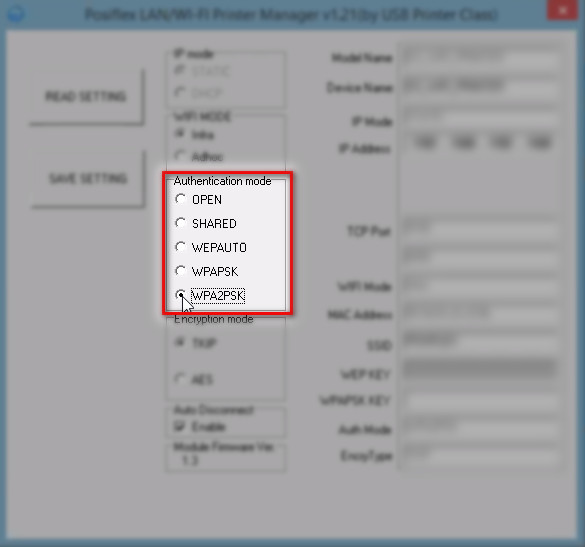
12. After you have chosen the Authentication Mode you need to make sure the Encryption Mode is set to the correct type. The Authentication Mode will dictate what type of Encryption Mode you choose. For this example we have set it to AES.

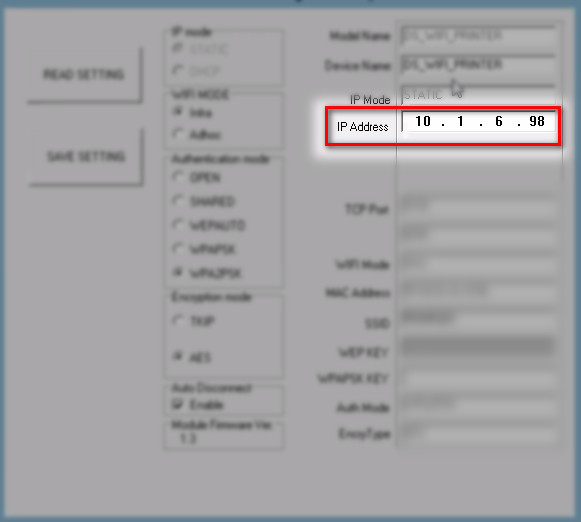
13. Once you have the reservation made for the printer you will input the IP address, Subnet Mask, and Default Gateway into the corresponding blanks in the Settings Menu. The TCP Port is non-configurable and should be set automatically to work with any configuration.
14. After you have confirmed these settings are correct you need to fill in the SSID and Key for the network. Be sure to type slowly and deliberately as it is easy to accidentally hit an incorrect characters. NOTE: Imputing the information is case sensitive.

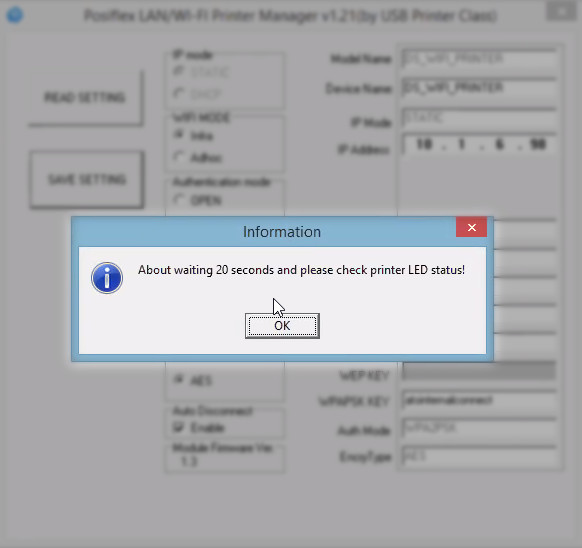
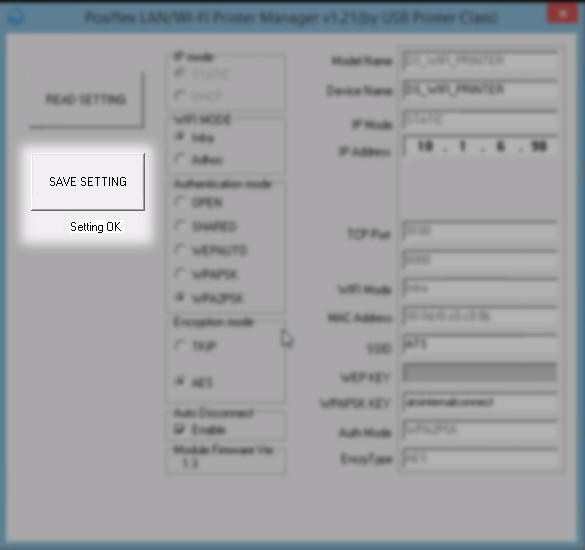
15. After all of the items have been entered, click Save Setting button. You will see a dialogue box letting you know that it is saving the settings. Click OK and wait for the Settings menu to let you know it is finished creating your settings.
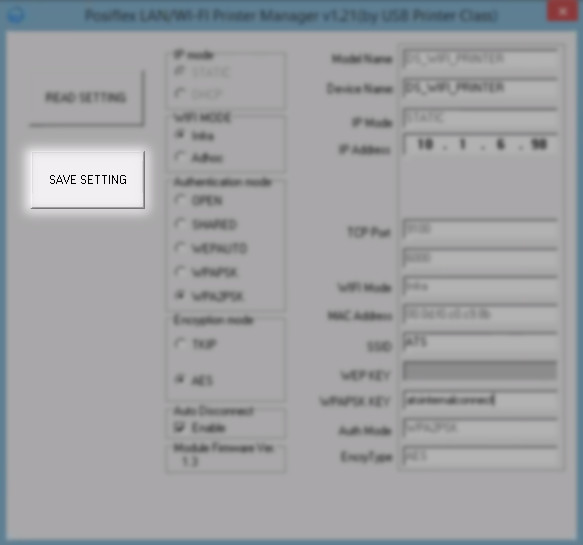

16. Once the new settings have been finalized and saved to the Base, you will need to turn the Power Switch off and then back on again. When the Base has rebooted it will attempt to connect to the new Access Point.
17. The light beside the Wi-Fi symbol on the front should be blinking and once it has finished connecting to the network should be solid green and may occasionally blink once.
18. If the light on the front is not green or is flashing in sets of three (3) rapidly you will need to go back to the settings menu and verify that you have input all the information correctly. Contact your client support representative if you still are unable to connect the printer using these steps.
19. When the printer is connected to the wireless network, you should be able to remove the tablet from the base and run the printer utility. When you open up the printer utility, the tablet will do the initial broadcast search for the printer base. It will appear as a selection in the utility.
Comments